

Editor Guide
https://pwmirage.com/forum/thread/342-we-are-closing/
Ever wanted to create your own Perfect World? Now's the chance. PW Mirage offers a rich editor, available right in your browser. Edit NPCs, mobs, items, and quests. Do your changes, with a single click publish your content, receive feedback from the community, test your changes in-game on a test server, then see them integrated into the main game.
Using the editor is meant to be fun. Comparing to other Perfect World editors, this one doesn't require you to copy and assign any ID numbers, there's much less buttons or input boxes, and the functionality remains the same. Reading this guide is not necessary to get started, but it certainly shows what's possible and what's not (or maybe not yet).
Projects
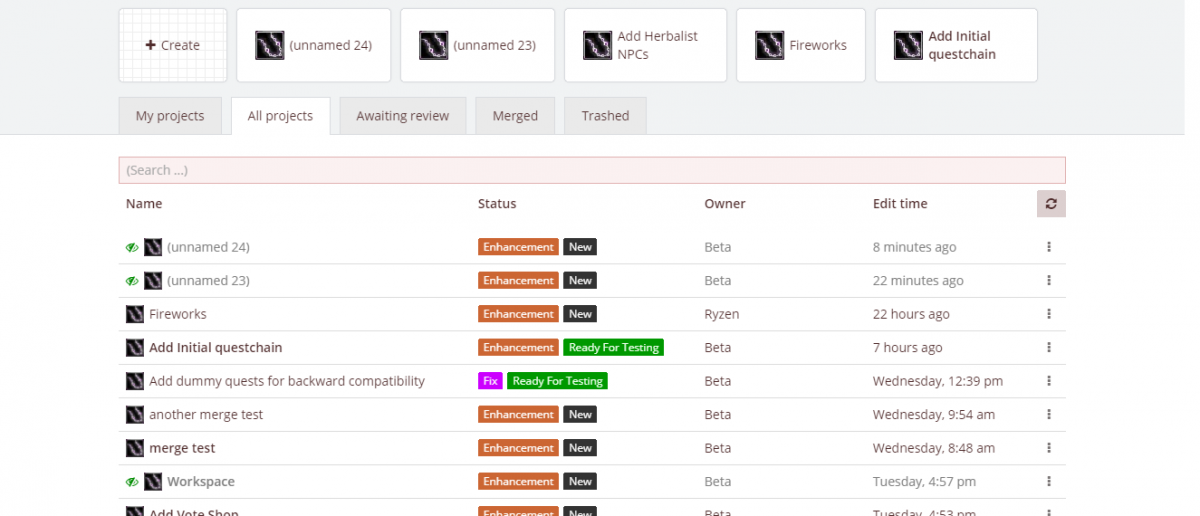
Projects are a way to organize your work. Think of a project as your workspace. It's where all your changes belong. You may want to use the editor to work on multiple ideas at once, and it's best to keep each idea in a separate project because each an every of those ideas need to be reviewed by maintainers. A review results in either getting a project merged into the game, or being marked as "Changes needed" with an appropriate comment. Obviously the smaller the project is, the easier it will be to review it.
Projects are only visible to their author until they're published (Top menu->Project->Publish). You can continue to make changes in a project after that, and eventually publish again, which will remove any approves or "changes needed" labels.
A project's life-cycle looks as follows:
Non-published -> Published/New -> Approved -> Ready for Testing -> Merged
or
Non-published -> Published/New -> Needs changes
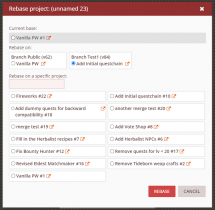
Rebasing
If there is some project merged while you're still working on some other project of yours, the merged changes won't appear in your editor. There won't be any third-party changes at all. Your project always stays at the same state you left it, no surprises. To make those additional changes appear in the editor, you have to rebase your project. You can rebase on the latest version of a branch, or any other project even if it's not merged yet. If you see a project from someone else with a new NPC, you may choose to suggest changes to it by creating a new project directly on it and applying those changes yourself. If approved, the base project as well as your new project can be merged one after another.

Branches
There's more than 1 Pefect World server connected to the editor. Of course there's the main, public one, then there are test servers connected as well. Projects should be usually merged to a test server first so they can be inspected and verified to work correctly before they're released to public. For this reason there are multiple branches - each for a separate server.
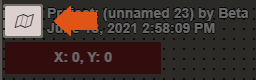
First steps in the editor
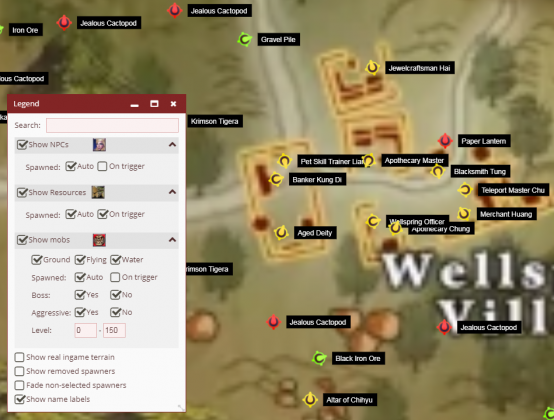
After you choose a map, you can click&drag the middle mouse button to move around. The mouse scroll also changes zoom level. Dots on the map represent objects as follows:
- Red - Monster
- Yellow - NPC
- Green - Resource (Ore, Wood, Herb, or diggable Chest, etc
Double click to open them, or right click on the map to create new.
You can change which dots are visible by opening a legend window with this small button in the bottom left corner of the screen.
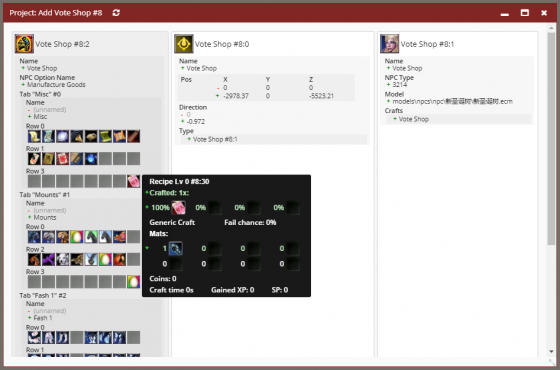
All of the above are called spawners. They represent some type of NPC/Mob/Resource placed in a specific spot. It's important to understand that a spawner and its spawned object type are two separate entities. There can be multiple spawners for the same NPC type, in which case modifying that NPC type (e.g. its name) will affect all spawners for it. The same applies to sold Goods, offered Crafts, items, etc. Let's take an example: There's just one definition of Venomous Ghoul monster (the monster west of Archosaur) and about 10 spawners for it. If you modify the Venomous Ghoul properties, all 10 spawners will be affected. When opening some edit window for an object you can easily identify which properties are separate objects just by looking at the button style.
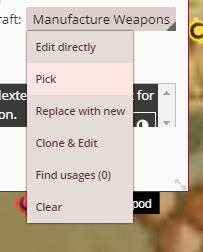
The arrow in the bottom right corner means clicking the button will open a context menu, usually with options allowing you to open a separate edit window for that object, to pick a different one in its place, to create a brand new one, clone the existing one, find all its usages, and a few more.
If you decide to pick a different NPC type for a spawner and select Pick, you will be given a fullscreen window with all objects of that type listed.
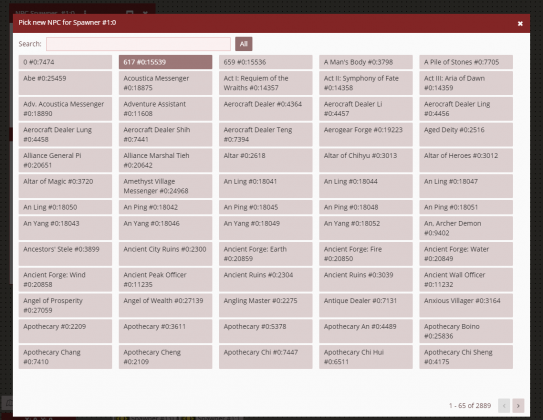
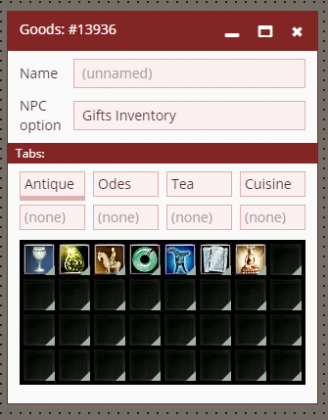
Not all objects have a useful name. In the case above - NPCs do have a name, but things like NPC Goods lists may not, since they don't have any name in the original PW files. Despite that, they can be still given a name inside this editor. It just won't be visible anywhere in game.
Object IDs
Usually an object's name is followed by its unique ID. The ID can be a single number, or it can be e.g. 512:2. In that latter case, 512 describes the project which created this object, and 2 is just a unique ID within that project. Single number IDs come from the original PW and they can be also shown as #0:id. The zero is simply omitted in some cases.
Edit History
A list of modified objects within this current project is always visible on the bottom of the screen, but it can only display two rows of objects. To see the rest, you need a summary window at Top menu -> Project -> Show summary.
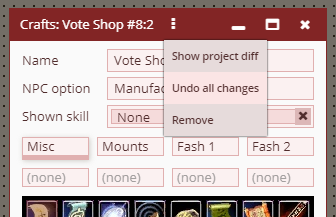
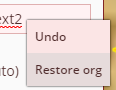
This shows all changes made in that project. The same window will be most likely used for reviewing. So before you publish your project you should make sure there are no unrelated, unnecessary changes. Inside any edit window you can right click any button/input box and an undo menu should pop up. You can also restore the entire object to its original state by clicking the three dots in its window.
That's it! If you have any other questions please ping Beta on our discord.